
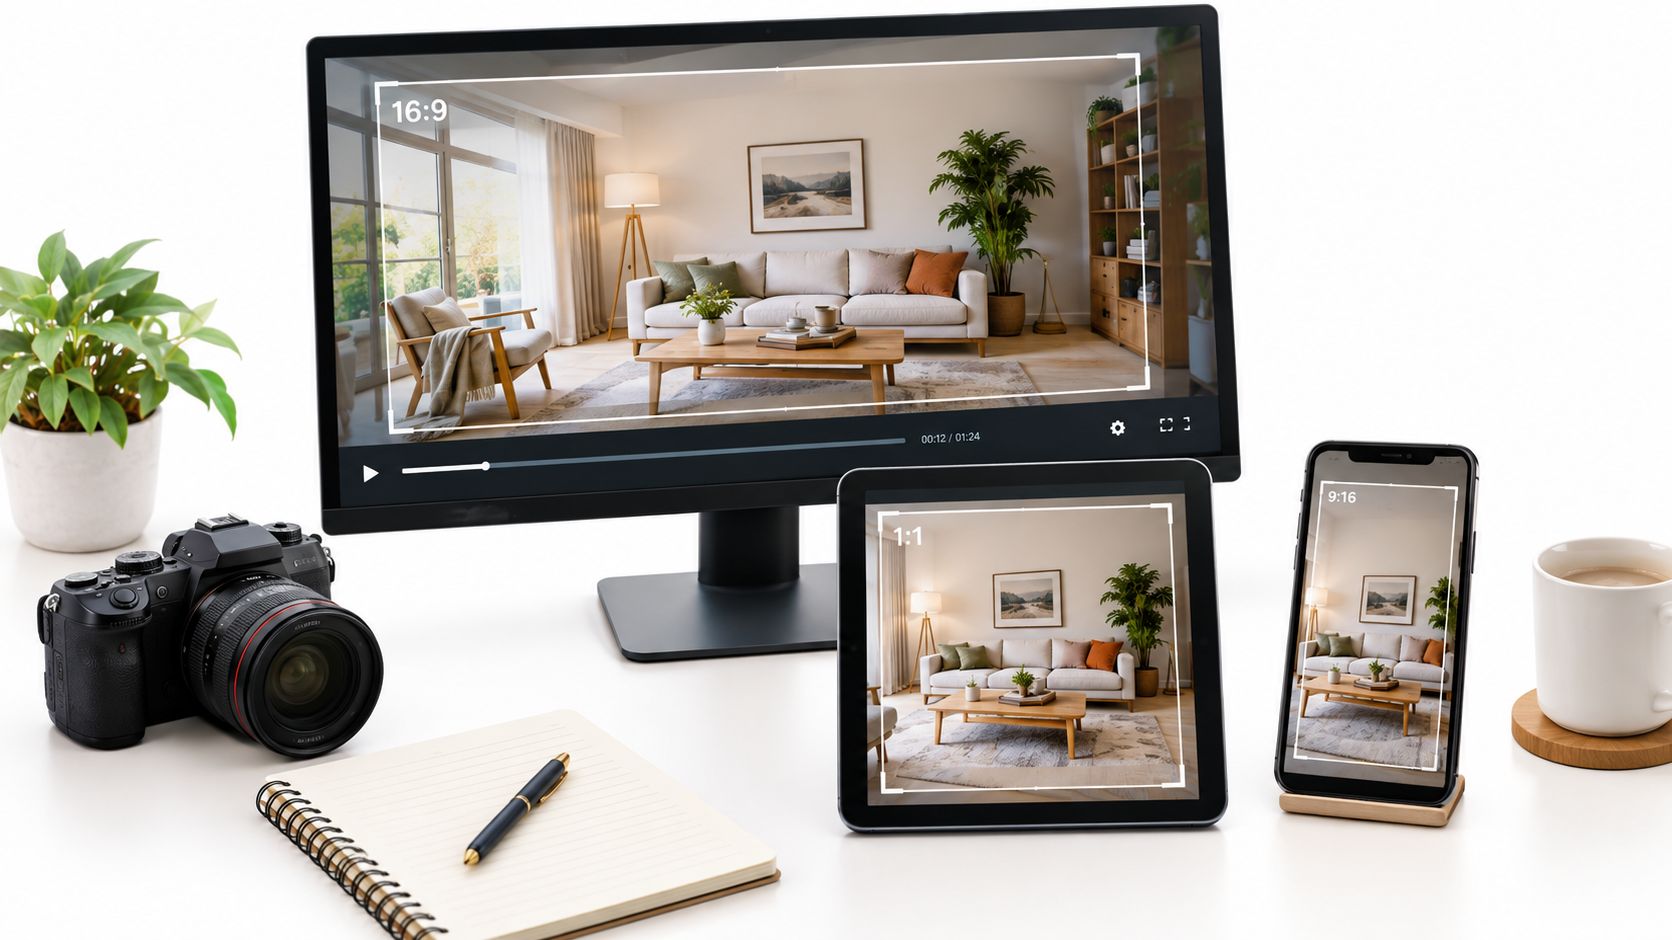
A video aspect ratio change alters the shape of your frame. For a property tour, the important question is what remains visible: the kitchen island, the entrance, the window, or the route into the next room. A file can have the right dimensions while hiding the feature you wanted to show.
This guide explains how to adapt property videos between 16:9, 9:16 and 1:1, including the current VideoTour.ai workflow. If you already have a finished video file and need a general editor, use our step-by-step Clipchamp tutorial.
This guide explains how to adapt property videos between 16:9, 9:16 and 1:1, including the current VideoTour.ai workflow. If you already have a finished video file and need a general editor, use our step-by-step Clipchamp tutorial.
Summary
Create an AI Video Tours from PhotosTry it For Free
1. Choose the shape for the destination
Choose the destination before editing. These are useful production starting points, not universal upload rules. Your MLS, website player or social placement may impose additional limits.
Shape and resolution are different. 1920×1080 and 1280×720 are both 16:9. A higher export resolution cannot restore detail missing from the source photo. Choose a sharp source, then an available output quality appropriate to the destination.
If you specifically need 4:5 or another shape outside VideoTour.ai’s three format options, use an editor that offers that canvas. Do not stretch a square or vertical file to make it fit.
| Shape | Useful starting point | What to check |
|---|---|---|
| 16:9 horizontal | Property website, presentation, horizontal video player | Can viewers understand room width and connections? |
| 9:16 vertical | A phone-first property teaser or Reel | Are important features near the sides being removed? |
| 1:1 square | A square feed placement or single-feature announcement | Do room labels and branding remain legible? |
Shape and resolution are different. 1920×1080 and 1280×720 are both 16:9. A higher export resolution cannot restore detail missing from the source photo. Choose a sharp source, then an available output quality appropriate to the destination.
If you specifically need 4:5 or another shape outside VideoTour.ai’s three format options, use an editor that offers that canvas. Do not stretch a square or vertical file to make it fit.
2. Decide whether to crop or preserve the whole image
Cropping fills the new frame by discarding edges. Fitting the full image preserves those edges but may leave space above, below or beside it. Repositioning a crop can rescue a feature near one edge, but it cannot make every part of a wide room fit into a narrow frame.
For a 16:9 image cropped to 9:16 at the same height, the remaining width is (9/16) ÷ (16/9), or about 31.6% of the original. This is geometry, not an engagement statistic. Nearly two thirds of the width falls outside that crop.
Before moving on, name the one feature the viewer should notice. If that feature or its context disappears, revise the shot. A filled screen is not worth an inaccurate impression of the home.
For a 16:9 image cropped to 9:16 at the same height, the remaining width is (9/16) ÷ (16/9), or about 31.6% of the original. This is geometry, not an engagement statistic. Nearly two thirds of the width falls outside that crop.
- Crop a detail: a centered fireplace, faucet or entrance may still be clear.
- Keep a wide shot intact: preserve the full image when two doorways or the kitchen-to-living-room connection explain the layout.
- Choose a different source: a vertical photo may work better than forcing an essential wide image into a narrow frame.
Before moving on, name the one feature the viewer should notice. If that feature or its context disappears, revise the shot. A filled screen is not worth an inaccurate impression of the home.
3. Change the format in VideoTour.ai
Open Format in the existing video’s editor, choose Vertical (9:16), Horizontal (16:9) or Square (1:1), then review the photos, captions and branding. Apply the changes and download the newly finished version. Format is also available during creation.
Keep a downloaded copy before changing the project to another shape if you need both versions. This is a sequence of separate versions; there is no need to look for a “Multi-Ratio Export” button.
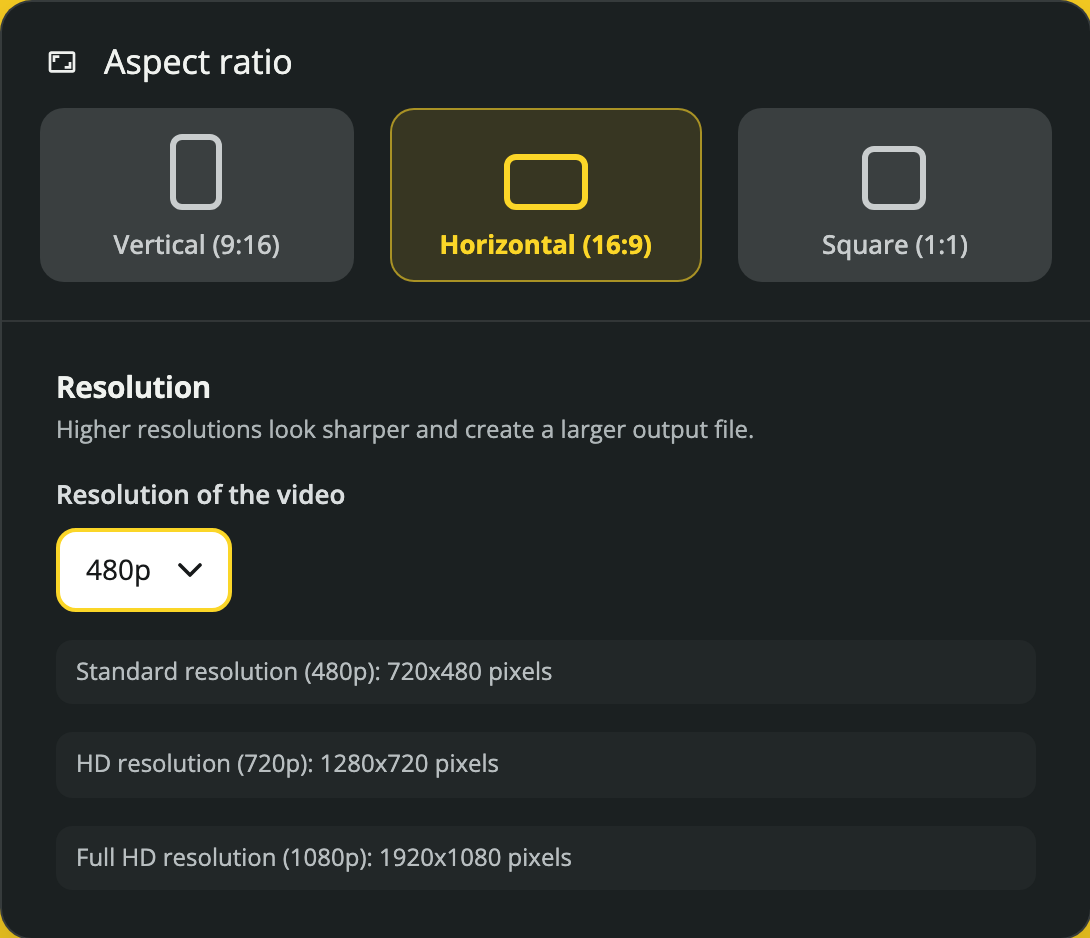
Actual VideoTour.ai interface from the help center; the selected quality shown is an example.
See the complete VideoTour.ai format instructions.
Keep a downloaded copy before changing the project to another shape if you need both versions. This is a sequence of separate versions; there is no need to look for a “Multi-Ratio Export” button.
Actual VideoTour.ai interface from the help center; the selected quality shown is an example.
See the complete VideoTour.ai format instructions.
4. Check cropping on wide scenes in a vertical tour
A wide scene in a vertical tour can show a Crop the photo or Crop the video checkbox. Turn it off if cropping hides an important feature and compare the finished result. This control is not shown for already vertical scenes or when editing a reel.
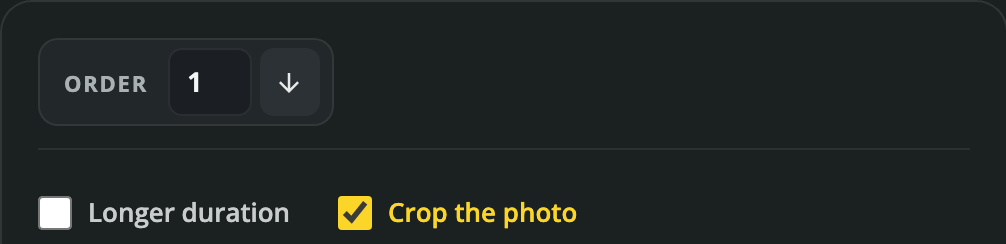
Actual scene control. Availability depends on the scene and video type.
Review a kitchen by checking the island, both ends of the counter and nearby openings. Review an exterior by checking the entrance, roofline and property edges. A face or logo staying visible does not prove that the room remains understandable.
For an individual still photo, AI Reframe is a separate operation from changing the whole video’s Format. Review generated details against the original before using them. Avoid a result that changes the apparent property.
Actual scene control. Availability depends on the scene and video type.
Review a kitchen by checking the island, both ends of the counter and nearby openings. Review an exterior by checking the entrance, roofline and property edges. A face or logo staying visible does not prove that the room remains understandable.
For an individual still photo, AI Reframe is a separate operation from changing the whole video’s Format. Review generated details against the original before using them. Avoid a result that changes the apparent property.
5. Review captions and branding in each shape
A caption placed safely in a horizontal frame can cover a room or sit behind social controls in a vertical upload. Review the destination’s actual preview; there is no single permanent safe-zone measurement that works for every placement.
When one caption needs too much room, shorten it or give it a separate title card. Shrinking it until it is unreadable defeats the purpose.
- Keep an address, price or room label away from the extreme edges.
- Use short labels with enough contrast against light walls and windows.
- Check the video muted: the main feature and next action should still make sense.
- Review every frame containing an agent, logo or contact information.
- For an MLS version, check your specific MLS requirements for branding, audio, links and file format.
When one caption needs too much room, shorten it or give it a separate title card. Shrinking it until it is unreadable defeats the purpose.
6. Save separate files and compare the results
Download the finished horizontal version before switching to vertical or square. Use names such as listing-name-wide-v1.mp4 and listing-name-vertical-v1.mp4 so an earlier export is easy to identify.
Watch each downloaded file from beginning to end, then inspect its upload preview. Check the opening, transitions, room labels and closing call to action. If a generated scene or source photo looks soft, changing the output dimensions alone will not solve it.
If you need a short promotional edit with different pacing, use a separate Reel workflow rather than assuming a shape change also edits the story.
Watch each downloaded file from beginning to end, then inspect its upload preview. Check the opening, transitions, room labels and closing call to action. If a generated scene or source photo looks soft, changing the output dimensions alone will not solve it.
| Problem | First thing to check |
|---|---|
| A room feature disappears | Crop setting and choice of source photo |
| People or circular objects look stretched | Whether another editor resized width and height independently |
| An old format is still visible | Whether you applied the changes and downloaded the newly finished version |
| A caption is hidden after upload | Destination preview and text placement |
| A Full HD export contains one blurry room | That scene’s source detail rather than the overall export label |
If you need a short promotional edit with different pacing, use a separate Reel workflow rather than assuming a shape change also edits the story.
7. A property-video export checklist
- Confirm the destination and its current requirements.
- Keep the original photos and your previous finished export.
- Choose 16:9, 9:16 or 1:1 in Format.
- Review every room for lost architectural details.
- Check captions, people, logos and the final action at phone size.
- Apply changes, download the finished file and watch it outside the editor.
- Preview the upload and use the correct branded or unbranded version.
For the full production process, follow our real estate listing video guide. VideoTour.ai creates property videos from listing photos; the final framing review is what makes each version useful to a buyer.
FAQ
Can I convert a horizontal property video to vertical without cropping?
Yes, by fitting the whole image within a vertical canvas and accepting unused space. Filling the entire vertical frame usually removes the sides.Does changing aspect ratio improve video quality?
No. It changes the shape. Detail depends on the original media and the rendering settings.Does VideoTour.ai export 4:5?
The current Format options documented here are 9:16, 16:9 and 1:1. Use another editor if your destination specifically needs 4:5.Conclusion
Keep the shape, the source image and the destination separate in your decision. Choose the frame that serves the viewer, preserve the property details that matter, and review every finished version before publishing.